


.png&w=64&q=75)
HTML Macro+ for Confluence: Quick Start
Get up and running with HTML Macro+ for Confluence in just a few steps.
Overview
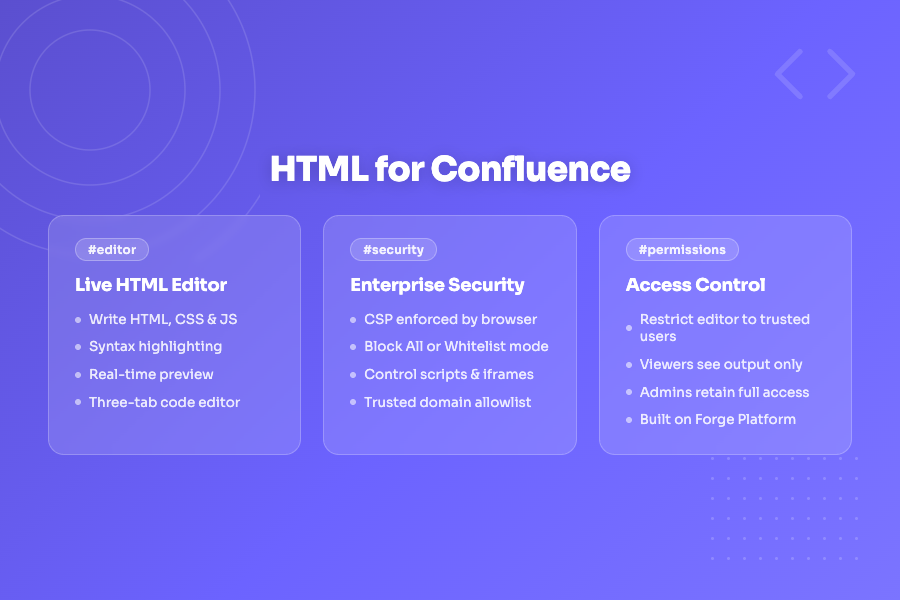
HTML Macro+ for Confluence lets you embed fully custom HTML, CSS, and JavaScript directly inside any Confluence page. Build rich interactive widgets, branded layouts, data visualisations, embedded content, and more — without leaving Confluence.
Prerequisites
- Atlassian Confluence Cloud instance
- App installed from Atlassian Marketplace
- Confluence Space or Page edit permissions
Step 1: Install the App
Install HTML Macro+ for Confluence from the Atlassian Marketplace. See the Installation Guide for step-by-step instructions.
Step 2: Add the Macro to a Page
- Open a Confluence page in edit mode
- Type the slash command:
/html - Select HTML Macro+ for Confluence from the dropdown
- The macro editor opens in a full-screen panel
Step 3: Write Your Content
The editor has three tabs — HTML, CSS, and JavaScript. Write your content across any combination of tabs and see it rendered live in the preview pane on the right.
Simple example:
<div class="card">
  <h2>Hello, Confluence!</h2>
  <p>This is custom HTML rendered inside a Confluence page.</p>
</div>
.card {
  background: #f4f5f7;
  border-radius: 8px;
  padding: 24px;
  font-family: -apple-system, sans-serif;
}
Step 4: Save
Click Save in the bottom toolbar. Your HTML is saved to the macro configuration and will render for every visitor to that page.
What's Next?
- 📖 Explore the HTML Editor
- 📖 Using the Live Preview
- 🔒 Configure Security Settings
- 👥 Set Up Permissions