

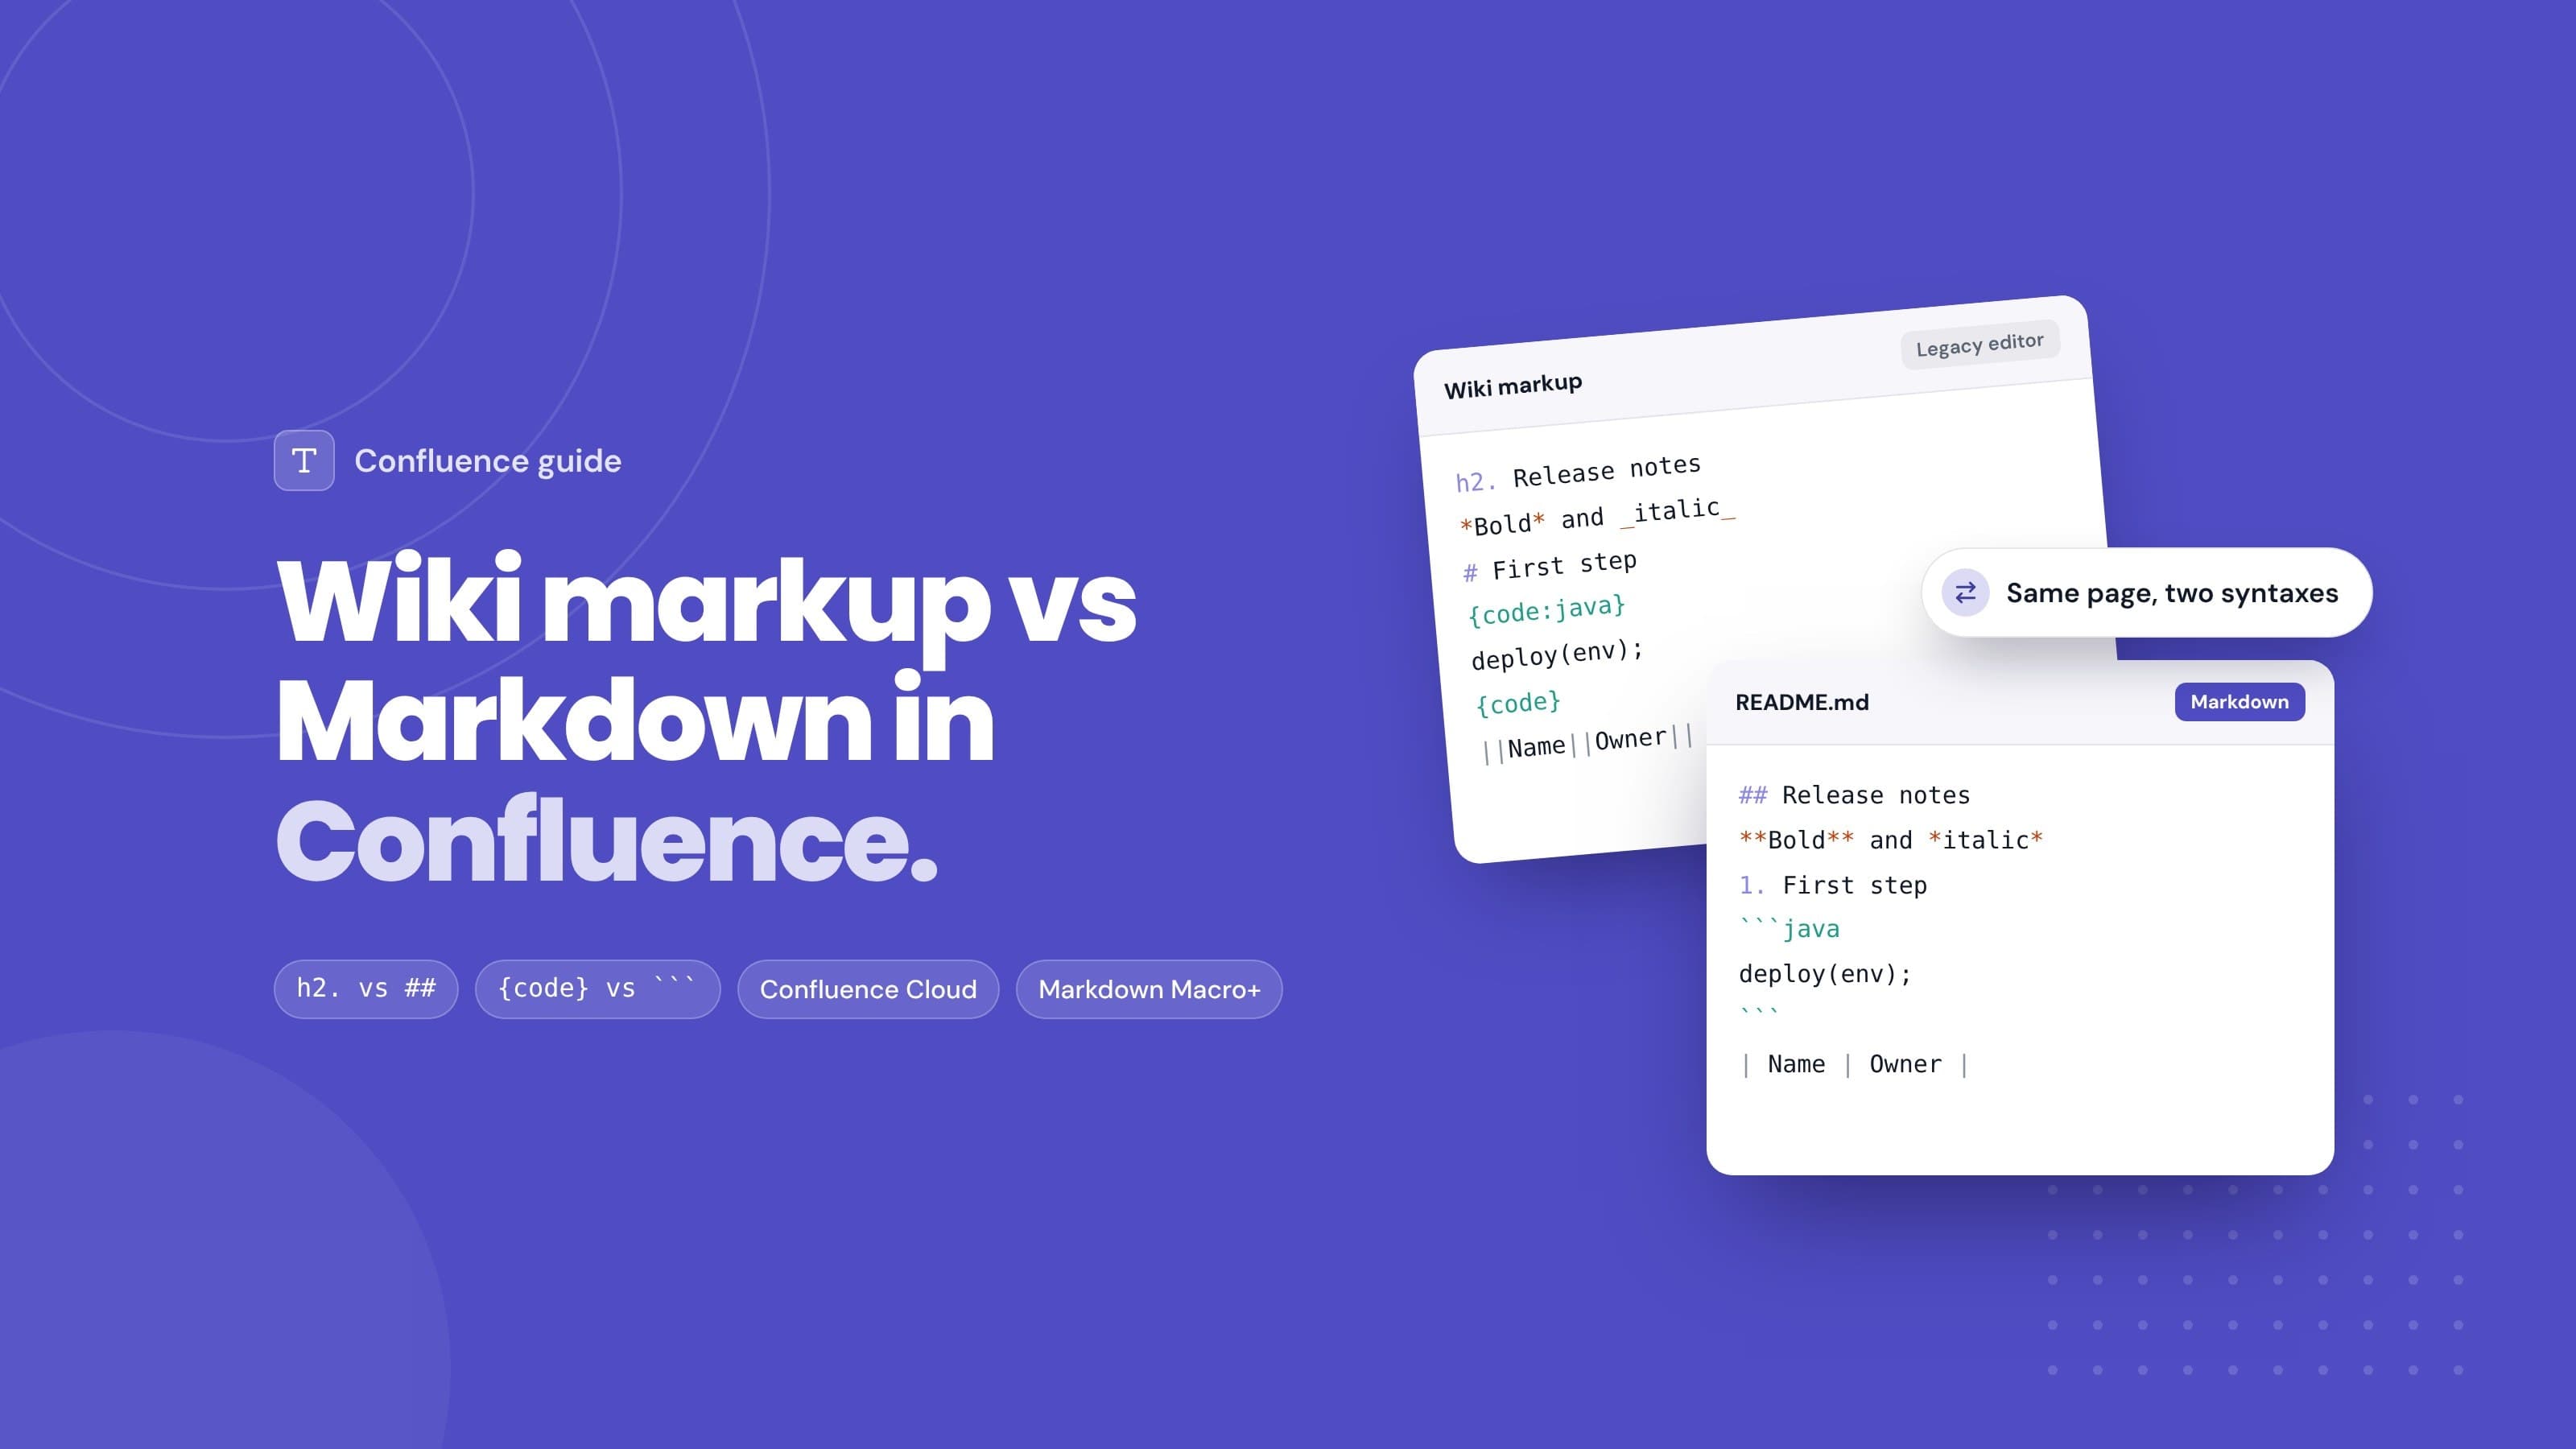
Confluence Markup: Wiki Markup vs Markdown in Cloud
Short answer: Confluence markup, also called Confluence wiki markup or the Confluence markup language, is Atlassian's own text syntax (h1., *bold*, {code}), and Markdown is the syntax most developers write everywhere else (#, **bold**, triple backticks). The Confluence Cloud editor no longer accepts wiki markup, but it does turn common Markdown shortcuts into formatting as you type. If you want to keep Markdown as the source of a page, you need a Markdown macro or an importer.
If you have been using Confluence for a while, you probably learned wiki markup first. If you came from GitHub, GitLab or a docs-as-code setup, you think in Markdown. Both describe the same things, headings, lists, tables, code, but the symbols are different, and only one of them still has a place in the Cloud editor. This guide puts the two side by side and explains what to use today.
What is Confluence markup?
Confluence markup is the plain-text format the original Confluence editor was built around. Atlassian calls it wiki markup, and Jira Data Center and Jira's version 2 REST API use the same syntax. Before the rich text editor took over, you wrote pages as text with markup and Confluence rendered them. A heading was h2. Release notes, a table header row was ||Name||Owner||, and a code sample sat between {code} tags.
That syntax still exists in a few places:
- Confluence Data Center still documents and supports wiki markup.
- The legacy Confluence Cloud editor has an Insert > Markup dialog that accepts wiki markup or Markdown and converts it into rich text.
- Older pages and scripts. Content written years ago, and tools built on Jira's version 2 REST API, which takes rich text fields as wiki markup, still use it.
In the current Confluence Cloud editor, Atlassian states plainly that markup insertion is not supported. You cannot open a page and edit its wiki markup source either; the page is stored in Confluence's own format and you work on it as rich text.
Markdown in the Confluence Cloud editor
What the Cloud editor does have is autoformatting that follows Markdown conventions. Type these and Confluence converts them on the spot:
#followed by a space for Heading 1, up to######for Heading 6**bold**,*italic*and~~strikethrough~~codefor inline code, and three backticks followed by a space for a code block*followed by a space for a bulleted list,1.followed by a space for a numbered list[]followed by a space for an action item (a task)>followed by a space for a quote, and---followed by a space for a divider[link text](https://example.com)for a link
This is handy when you write a page by hand. The catch is that it is a typing shortcut, not a Markdown mode. Once the text is formatted, the Markdown is gone. You cannot switch the page back to its Markdown source, and there is no table shortcut, so tables still come from the toolbar or the slash command. For more on code specifically, see inline code and code blocks in Confluence.
Wiki markup vs Markdown, side by side
Here is how the same formatting is written in each syntax.
| What you want | Confluence wiki markup | Markdown |
|---|---|---|
| Heading 2 | h2. Title |
## Title |
| Bold | *bold* |
**bold** |
| Italic | _italic_ |
*italic* |
| Strikethrough | -deleted- |
~~deleted~~ |
| Inline code | {{code}} |
code |
| Code block | {code:java} … {code} |
three backticks plus the language, then three backticks |
| Bulleted list | * item |
- item or * item |
| Numbered list | # item |
1. item |
| Link | [title|https://example.com] |
[title](https://example.com) |
| Table header | ||Name||Owner|| |
| Name | Owner | then |---|---| |
| Quote | bq. text |
> text |
| Horizontal rule | ---- |
--- |
Three differences catch people out:
- Asterisks mean different things. In wiki markup
*text*is bold; in Markdown it is italic. Paste one into the other and the emphasis changes. #is a numbered list in wiki markup and a heading in Markdown. A wiki-style numbered list pasted into a Markdown file turns into a stack of headings.- Links put the title and URL in a different order and with a different separator. Wiki markup uses
[title|url], Markdown uses[title](url).
Confluence wiki markup cheat sheet
Wiki markup also covers things standard Markdown has no syntax for, such as coloured text, panels and user mentions. These are the ones you are most likely to meet in older pages and Jira issue descriptions.
| What you want | Confluence wiki markup |
|---|---|
| Underline | +underlined+ |
| Superscript and subscript | ^super^ and ~sub~ |
| Coloured text | {color:red}text{color} |
| Line break | \\ |
| Image from an attachment | !diagram.png!, or !diagram.png|thumbnail! for a thumbnail |
| Link to an attachment | [^report.pdf] |
| Link to another page | [Page title] or [SPACEKEY:Page title] |
| Mention a user | [~username] |
| Anchor and link to it | {anchor:setup} and [#setup] |
| Table cell | |cell|cell| |
| Info, note, tip, warning panels | {info}text{info}, {note}, {tip}, {warning} |
| Panel with a title | {panel:title=Before you start}text{panel} |
| Preformatted text, no highlighting | {noformat}text{noformat} |
| Multi-line quote | {quote}text{quote} |
| Table of contents | {toc} |
Anything in curly braces is a macro, which is why {code}, {info} and {toc} look alike. Standard Markdown has no equivalent for most of them. In the Cloud editor you add the same things from the slash menu instead: type /info for an Info panel or /table of contents for a table of contents.
Which one should you use?
For new content, Markdown. It is what developers already write in READMEs, pull requests, chat and issue trackers, it is supported by almost every docs tool, and the Confluence Cloud editor's shortcuts follow it.
Wiki markup still makes sense in two situations: you run Confluence Data Center and your team already knows it, or you maintain scripts that write to Jira's version 2 API. Outside of those, learning wiki markup today mostly means learning a syntax that only Atlassian products read.
Converting between the two
There is no built-in converter in Confluence Cloud, so most teams handle it one of three ways:
- By hand, for a few pages. The table above covers nearly everything. Watch the three traps: asterisks,
#and link order. - Export existing pages to Markdown. If the content already lives in Confluence, export it rather than converting text. Markdown Exporter for Confluence exports a page, a page tree or a whole space to Markdown files with front matter. See how to export Confluence to Markdown.
- Import Markdown into pages. Going the other way, Markdown Importer for Confluence turns
.mdfiles, folders or a ZIP into a Confluence page tree. The walkthrough is in how to import Markdown into Confluence.
Search-and-replace scripts between the two syntaxes look easy and rarely are. Nested lists, code blocks that contain asterisks, and tables with links all break simple patterns, so test a converted page before you trust a batch.
Keeping Markdown as Markdown in Confluence
The editor's shortcuts and the Insert > Markup dialog both convert Markdown into rich text. That is fine for a one-off page. It is a problem when the Markdown is the real source, a README, an API reference or a runbook that also lives in Git, because the next edit has to be made twice.
Two ways keep the Markdown intact:
- Write Markdown inside the page. Markdown Macro+ for Confluence adds a macro with a split editor and live preview. You write GitHub-flavoured Markdown, including tables, task lists, code with syntax highlighting and KaTeX math, and the source stays editable afterwards. The quick start takes a couple of minutes, and how to write Markdown in Confluence covers it in depth.
- Publish from your repository. Keep the
.mdfiles in Git and push them to Confluence with Markdown Importer, by hand or from CI. This is the docs-as-code setup described on the technical documentation use case page.
Both apps are built on Atlassian Forge, so the content stays on your Atlassian site.
Frequently asked questions
What is the Confluence markup language?
It is Confluence wiki markup, the plain-text syntax Atlassian created for Confluence and Jira. Headings are h1. to h6., bold is *text*, code blocks sit between {code} tags and macros are written in curly braces. The current Confluence Cloud editor no longer accepts it; Data Center and the legacy Cloud editor do.
Does Confluence Cloud still support wiki markup?
Not in the current editor. Atlassian's documentation says the new editor does not support markup insertion, and pages are not editable as wiki markup. The Insert > Markup dialog only exists in the legacy editor, and Confluence Data Center still supports wiki markup.
Can I write Markdown in Confluence Cloud?
You can type Markdown shortcuts such as ##, **bold** and three backticks, and the editor formats them as you type. The Markdown itself is not kept. To keep editable Markdown on a page, use a Markdown macro such as Markdown Macro+.
What is the difference between Confluence markup and Markdown?
They describe the same formatting with different symbols. The biggest differences: *text* is bold in wiki markup and italic in Markdown, # starts a numbered list in wiki markup and a heading in Markdown, and links are [title|url] versus [title](url).
How do I convert Confluence wiki markup to Markdown?
For a few pages, convert by hand with a reference table like the one above. For content that is already in Confluence, export the pages to Markdown instead of converting text, for example with Markdown Exporter for Confluence.
Can I paste a README into Confluence and keep its formatting?
Pasting raw Markdown into the Cloud editor does not reliably keep its formatting. Put it in a Markdown Macro+ macro on the page, or import the file with Markdown Importer so headings, tables and code blocks come through.
Try it
Write your next README-style page in Markdown and keep it that way: install Markdown Macro+ for Confluence from the Atlassian Marketplace, add the macro to a page and paste your Markdown in. If the docs live in Git, try Markdown Importer on one folder first.