By Yamuno Team
10 Apr 2026
4 min read
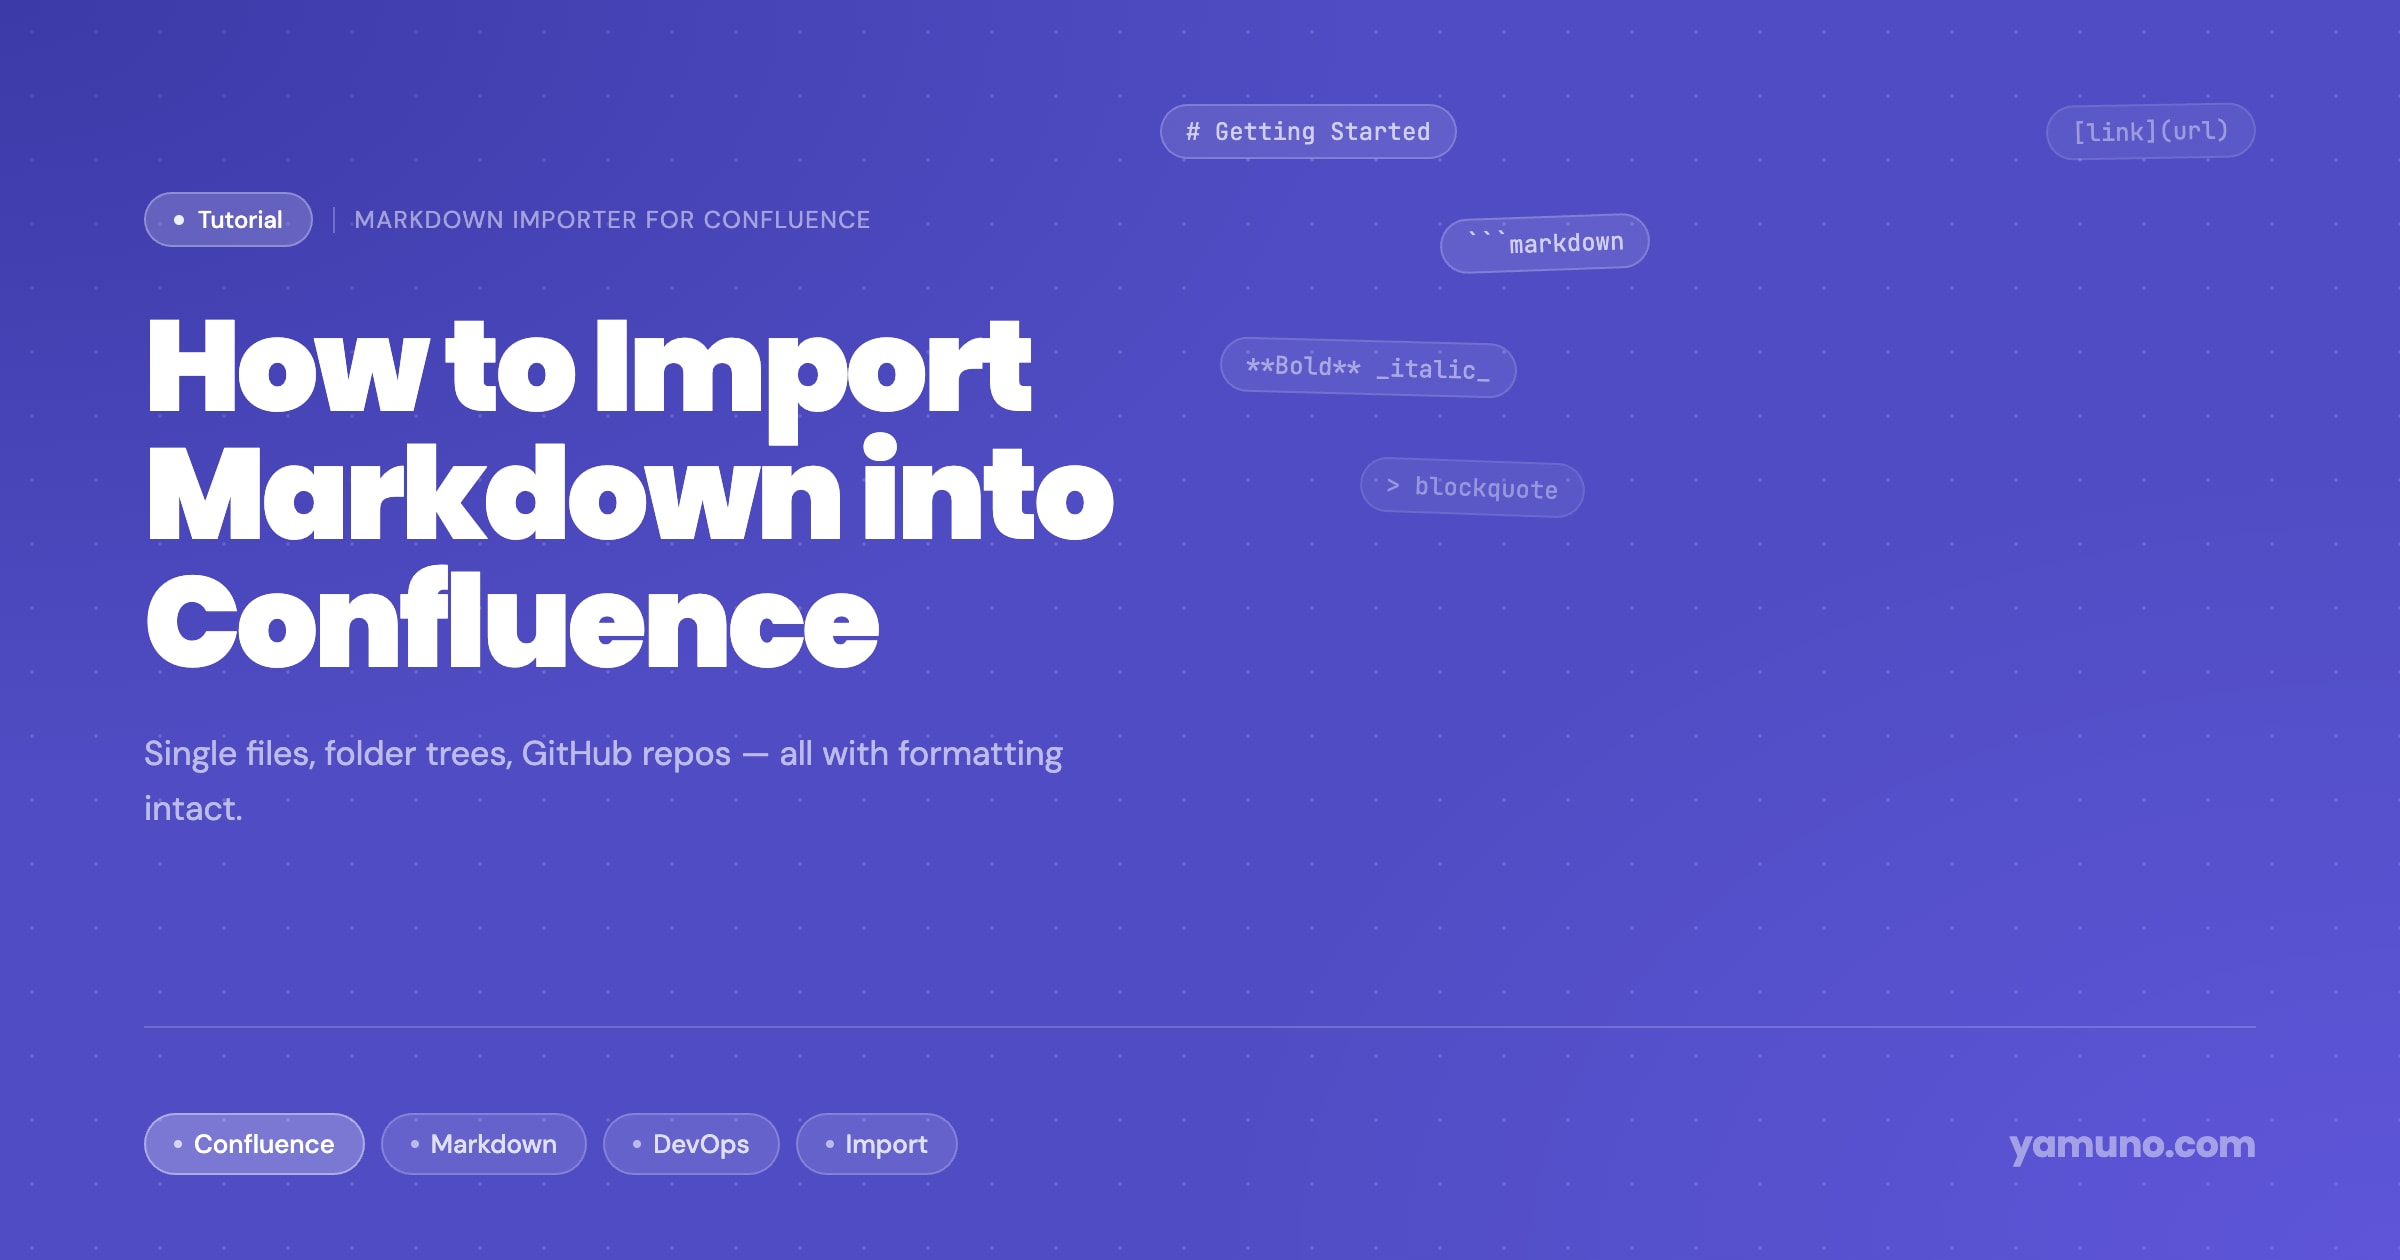
Confluence is where your team documents things. Markdown is where developers write things. The problem is they don't naturally talk to each other — pasting markdown into Confluence turns your beautiful formatting into a wall of symbols.
Markdown Importer for Confluence & Markdown Exporter bridges that gap. Here's exactly how to use it to get markdown into Confluence — whether that's a single file, a folder of docs, or an entire GitHub repository.
Best for: a single README, a runbook, an architecture decision record, or any standalone document.
.md or .mdx fileYour page is created with all formatting intact — headings, tables, code blocks, images, and lists all convert cleanly.
Best for: importing a docs folder from a project, a wiki from GitHub/GitLab, or any set of related documents that form a hierarchy.
The folder hierarchy becomes your Confluence page tree:
docs/
├── getting-started/
│   ├── index.md        → Getting Started (parent)
│   ├── installation.md → Installation (child)
│   └── quick-start.md  → Quick Start (child)
└── features/
    ├── index.md        → Features (parent)
    └── api.md          → API Reference (child)
Internal links between files are automatically converted to Confluence page links — cross-references stay intact.
Best for: syncing developer documentation directly from source control into Confluence — keeping your /docs folder and your Confluence space in sync.
This is the fastest path from a Git repo to Confluence — no need to clone locally, zip files, or manually copy content.
Best for: CI/CD pipelines, documentation-as-code workflows, and teams that want to automatically sync docs on every commit.
The Markdown Importer exposes a REST API that lets you trigger imports programmatically. Add it to your CI pipeline and your Confluence pages update automatically whenever your docs change.
See the REST API documentation for full details.
The importer handles the full range of standard markdown formatting:
.md links converted to Confluence page linksCheck your image paths. If your markdown references images with relative paths, make sure the images are included in your ZIP or accessible at the URL before importing.
Use frontmatter for page titles. If your files have title: in the YAML frontmatter, the importer uses that as the Confluence page title instead of the filename.
Import into a staging space first. For large imports, run it in a test space before hitting production. It's easy to re-import if anything looks off.
Bulk import is unlimited. There's no cap on how many pages you can import in one go — import an entire repository if you need to.
Install Markdown Importer for Confluence & Markdown Exporter from the Atlassian Marketplace — free to try.
Full documentation is at /docs/markdown-importer-for-confluence.
Questions? Reach out via our support portal.
Featured App
Convert Between Markdown Files and Confluence Pages Effortlessly
Get product updates and tips straight to your inbox.
No spam, ever.
Confluence's native PDF export has no cover page. Here's how to add a professional title page — with your logo, accent color, and subtitle — to any Confluence PDF export.
Read more
Switching from Notion to Confluence? Here's how to export your Notion pages to markdown and import them into Confluence without losing formatting, structure, or attachments.
Read more
Jira's default reporting is useful but limited. Here's how to set up charts that actually help you track issue progress, workload distribution, and sprint health in one place.
Read more