By Yamuno Team
06 Jun 2026
6 min read
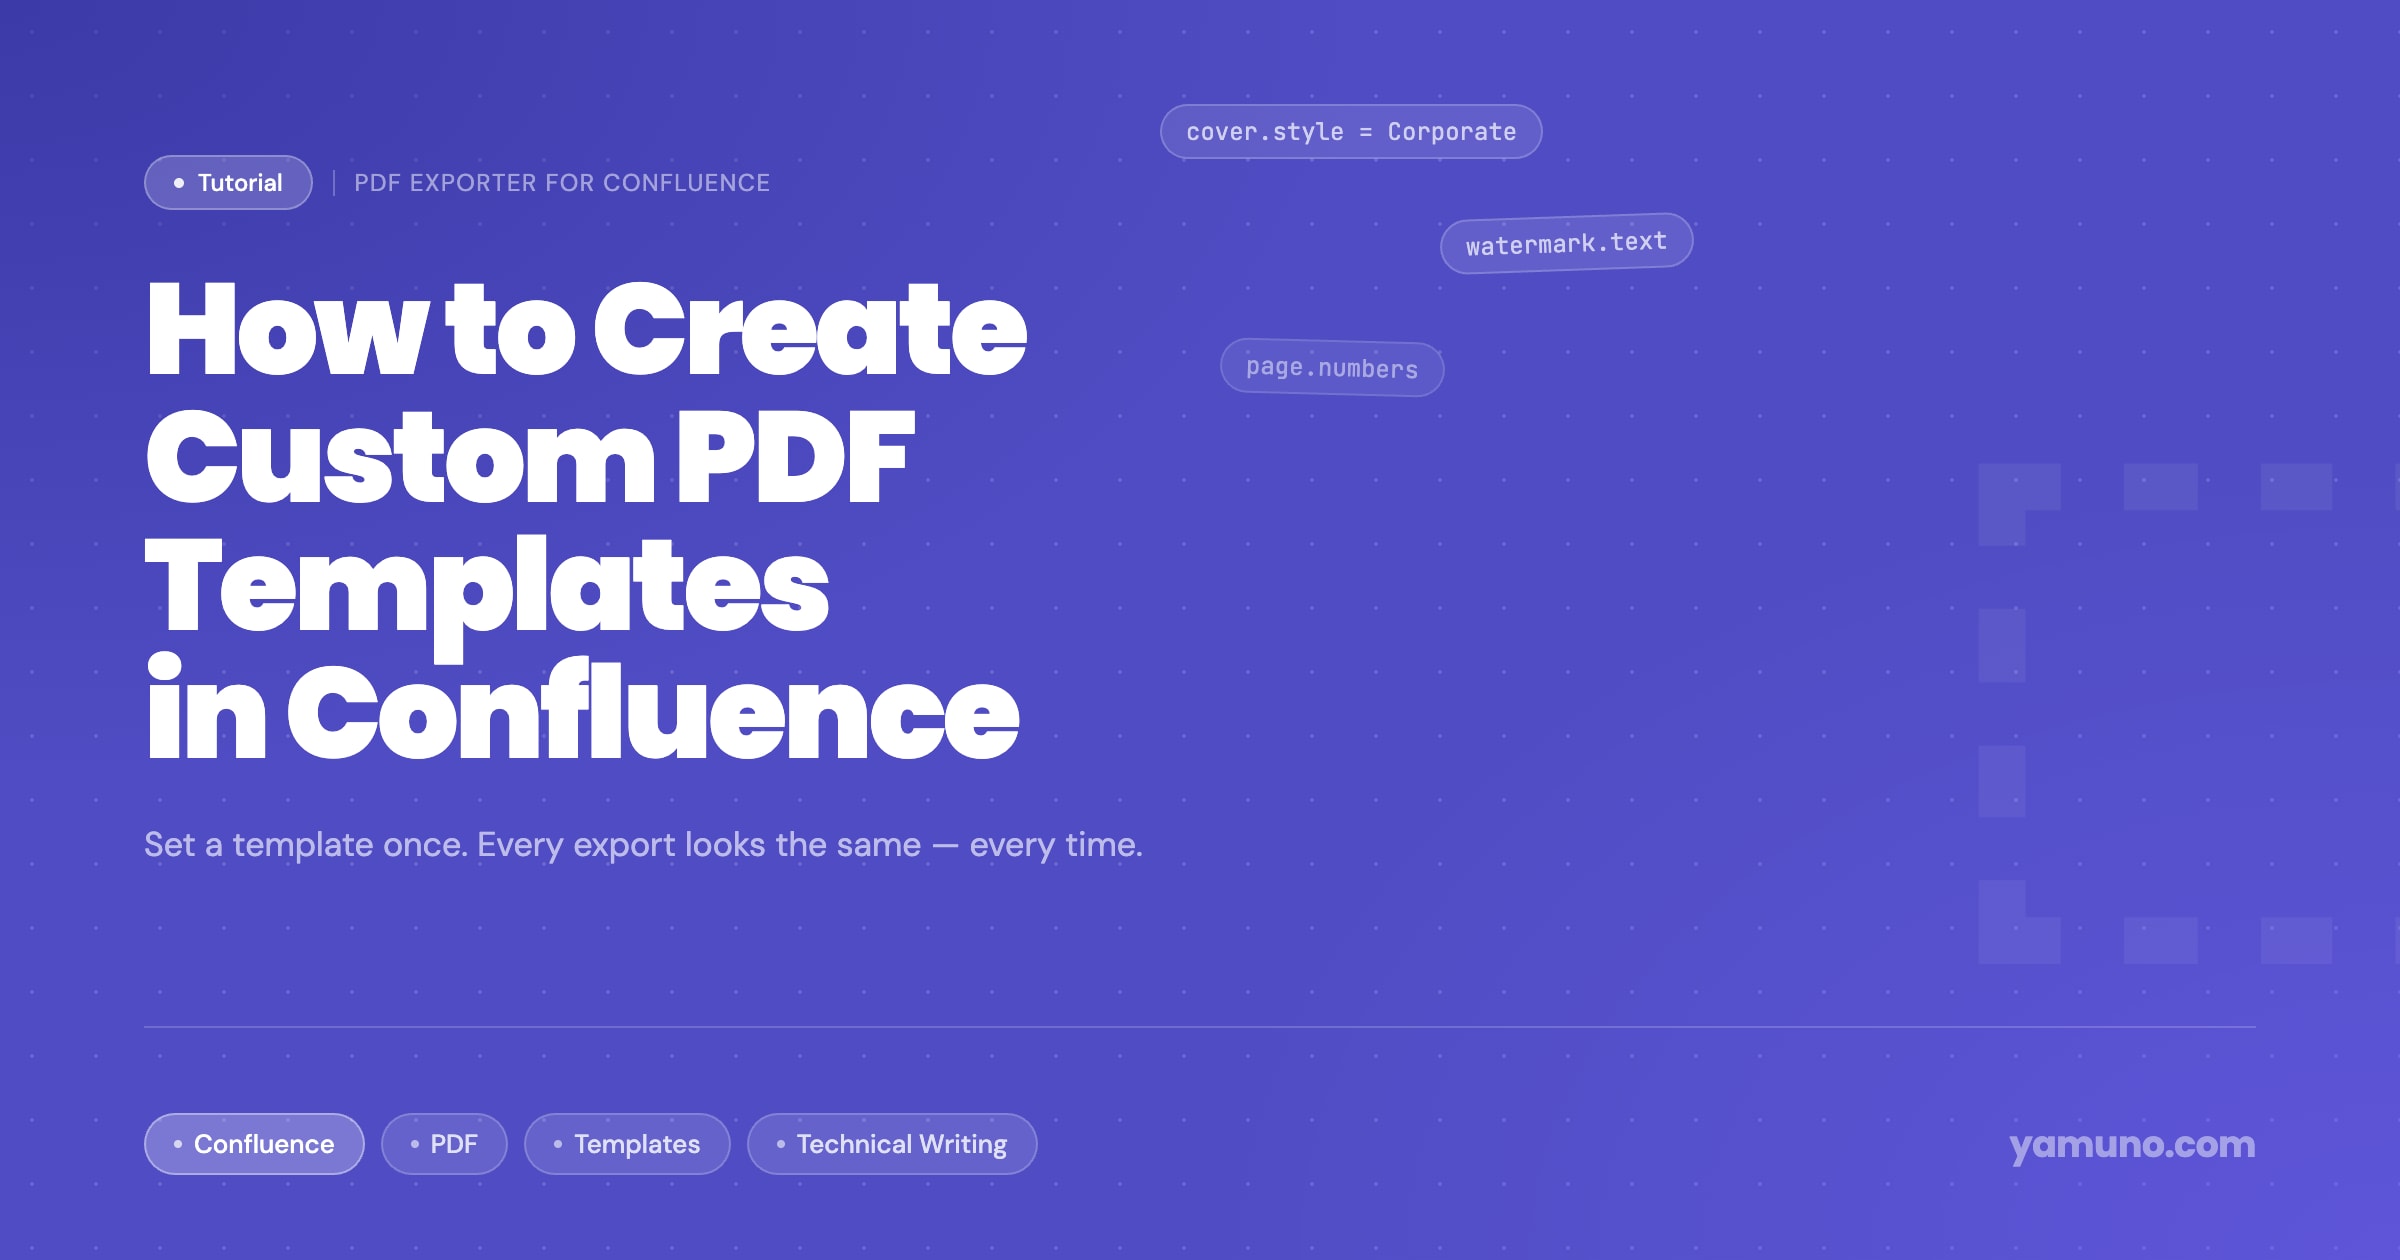
If your team exports Confluence pages to PDF regularly, you've probably run into this problem: every export looks different. One person adds a cover page, another doesn't. Headers are inconsistent. Some PDFs have page numbers, others don't. When the document goes to a client or a regulator, it looks like it came from three different organizations.
The fix is a shared template. Create it once, and every export from the instance uses it automatically — no manual configuration each time.
This guide covers how to set up PDF export templates in Confluence using PDF Exporter for Confluence.
Regular users can apply templates but cannot create or edit them.
You'll see the template list. New instances have three built-in templates: Default, Report, and Minimal. You can edit these or create new ones.
Click New Template and give it a name. Use something descriptive — "Client Deliverable," "Internal Report," "Compliance Archive" — so team members know which template to pick.
Add an optional description explaining when to use this template.
Under Page Layout, set:
Cover pages are one of the most visible differences between a professional-looking PDF and a bare export. Turn them on under Cover Page.
Style options:
| Style | When to use |
|---|---|
| Classic | General internal documents |
| Corporate | Client-facing deliverables with a formal tone |
| Modern | Product documentation with a contemporary feel |
| Executive | Board reports, executive summaries |
| Bold | Team-facing reports where visual impact matters |
| Minimal | When you only need the title and author, no decoration |
Customization:
#504DC4); change it to your company's primary colorThe template editor shows a live preview as you configure, so you can see exactly how the cover will look before saving.
Headers and footers appear on every content page (not the cover).
Header:
Footer:
Page Numbers:
1, 1 / 10, or Page 1 of 10A common layout: document title centered in the header, page numbers right-aligned in the footer, confidentiality notice left-aligned in the footer.
Watermarks are useful for draft reviews, confidential documents, or compliance archives.
Enable Watermark, enter the text (e.g., "DRAFT," "CONFIDENTIAL," "FOR REVIEW ONLY"), and set the opacity. The default opacity of 0.15 is visible without dominating the content. Go lower for a more subtle mark, higher if the watermark needs to be unmissable.
For multi-page exports, a table of contents makes the document navigable.
Enable Table of Contents and set the depth:
For technical documentation, Depth 2 is usually the right balance. Depth 3 can make the TOC longer than some sections.
Under Page Breaks, you can configure the exporter to insert automatic page breaks before H1 and/or H2 headings. This keeps major sections starting on a fresh page, which looks significantly cleaner in multi-topic exports.
Enable "Break before H1" at minimum. Enable "Break before H2" for documents with long subsections.
Click Save. The template is immediately available to all users on the Confluence instance.
To verify it works:
Check the cover page, headers, and watermark. If anything looks off, go back to Settings → PDF Exporter → Templates → Edit.
For most teams, two or three templates covers the range of use cases:
Archive templates you no longer want used (rather than deleting them) — the Archive option hides them from user dropdowns while preserving the settings for reference.
Once your templates are set up, the export workflow for every user is:
No formatting decisions. No inconsistent output. The same cover, the same header, the same page layout — every time.
Featured App
Convert Between Markdown Files and Confluence Pages Effortlessly
Get product updates and tips straight to your inbox.
No spam, ever.
Confluence doesn't have a built-in project status dashboard. Here's how to build one that shows RAG indicators, progress bars, countdown timers, and key metrics — using HTML Macro for Confluence.
Read more
Product managers need a different view of Jira than engineering teams do. Here's how to set up charts and dashboards that track the metrics that actually matter for product decisions.
Read more
Confluence's native PDF export has no cover page. Here's how to add a professional title page — with your logo, accent color, and subtitle — to any Confluence PDF export.
Read more