How to Export Confluence to Markdown
Short answer: Confluence's built-in export offers formats such as PDF, Word and HTML, not Markdown. To get .md files, use a Marketplace app. With Markdown Importer for Confluence, open a page's ••• menu, select Export to Markdown, and export the single page or include its child pages as a ZIP that keeps the hierarchy as folders, with attachments linked by relative paths.
There are plenty of reasons you might need your Confluence docs in Markdown: migrating to another platform, publishing to a static site, syncing with a Git repo, or keeping an offline backup. Whatever the reason, Confluence's built-in export doesn't give you clean Markdown. It gives you formats like PDF, Word and HTML.
This guide uses the export feature built into Markdown Importer for Confluence. Despite the name, the app works both ways: it imports Markdown into Confluence and exports Confluence pages back to Markdown. That makes it a good fit if your team moves content in both directions.
If you only need export, look at the separate, standalone Markdown Exporter for Confluence. It's a different app, built only for export, with a page-tree picker, YAML front matter, Obsidian wikilinks, custom filename patterns and a REST API for automated exports.
Option 1: Export a Single Page
Best for: grabbing one page quickly, such as a README, an architecture doc or a runbook.
- Navigate to the Confluence page you want to export
- Click ••• (More actions) in the top-right
- Select Export to Markdown
- Choose Single Page Only
- Click Export and download the
.mdfile
The export includes the page content, its inline images and attachments, code blocks, tables, lists and formatting. Images and attachments are referenced with relative paths so they stay linked.
Option 2: Export a Page Tree
Best for: exporting a section of your docs, such as a product's documentation, a project wiki, or an onboarding guide.
- Navigate to the parent page
- Click ••• (More actions) and select Export to Markdown
- Choose Include Child Pages
- Review the page tree preview and uncheck any pages you want to skip
- Click Export and download the ZIP
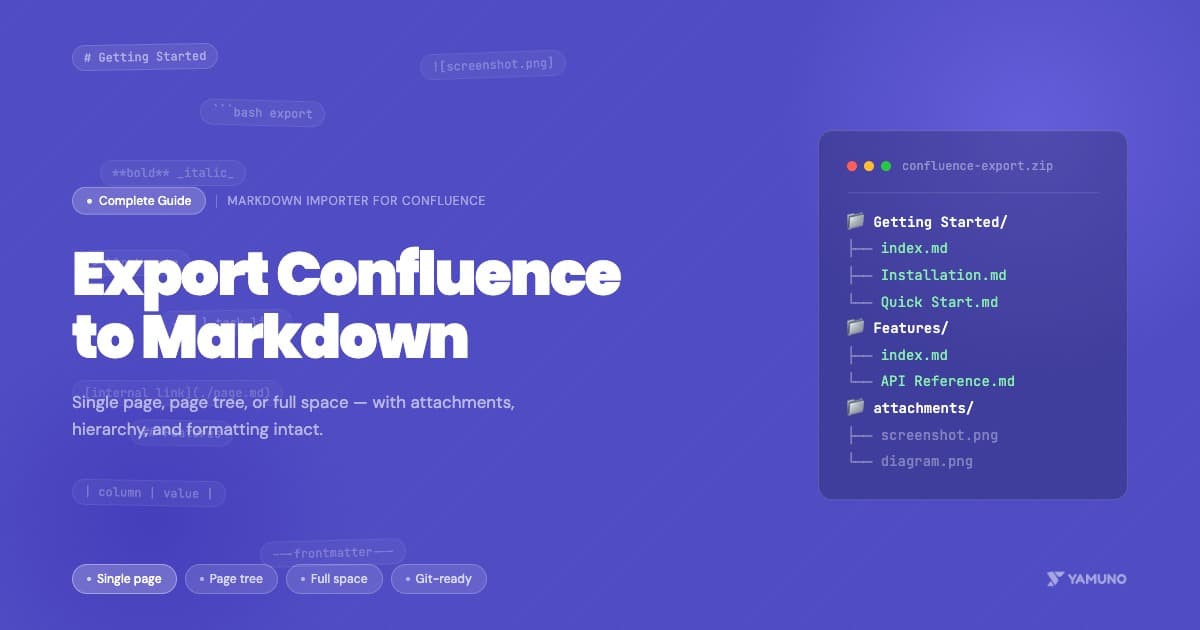
The ZIP preserves your page hierarchy as folders:
confluence-export/
├── Getting Started/
│   ├── index.md
│   ├── Installation.md
│   └── Quick Start.md
├── Features/
│   ├── index.md
│   └── API Reference.md
└── attachments/
    ├── Getting Started/
    │   └── screenshot.png
    └── Features/
        └── diagram.png
Internal links between pages are converted to relative markdown links, so cross-references stay intact.
Option 3: Export an Entire Space
Best for: full space backups, platform migrations, or archiving completed projects.
- Open Markdown Importer & Exporter from the Apps menu in Confluence
- Switch to Export mode
- Select the space you want to export
- Review the summary (page count, size estimate)
- Click Export Space
- Wait for processing (large spaces can take a few minutes)
- Download the complete ZIP archive
The output structure mirrors your Confluence space, with all pages, child pages, and attachments organized in folders matching the page tree.
What Gets Preserved
The exporter converts standard Confluence content to Markdown:
- Text formatting: bold, italic, strikethrough, headings H1 to H6
- Tables: including column alignment and header rows
- Code blocks: fenced, with the language preserved
- Lists: ordered, unordered, nested, and task lists with checkboxes
- Images and attachments: downloaded and referenced with relative paths
- Info, warning, note and tip panels: converted to blockquotes
- Internal links: converted to relative Markdown links
- Page metadata: optionally added as YAML front matter
Common Use Cases
Publish to a Static Site
Export your Confluence space and use it as the source for MkDocs, Docusaurus, or Jekyll. The folder structure and relative links give you a solid starting point, though most generators need their own navigation config and a quick check of the output.
Sync with a Git Repository
Export your docs, push them to a docs/ folder in your repo, and your Confluence content is now version-controlled. You can reverse the flow too: edit in Git, then import back to Confluence with the same app (see how to import Markdown into Confluence).
Migrate to Another Platform
Markdown is the closest thing to a universal documentation format. Export from Confluence, then import into Notion, GitHub Wiki, GitLab Wiki, or wherever you're moving.
Backup
Run a space export regularly and store the ZIP in S3, Google Drive, or a Git repo. It's a lightweight, readable backup you can actually open without special software.
Tips
Start small. Export a single page or a small section first to check the output before running a full space export.
Large spaces take time. Keep the browser tab open during export, because closing it can interrupt the process.
Check complex macros. Most Confluence macros convert cleanly, but heavily customised layouts may need a manual review after export.
Use front matter for tracking. Enable the metadata option to include fields such as the page title, ID and dates as YAML front matter. This helps if you're building a pipeline that needs to track which pages have changed.
Automating exports. This export runs from the app's UI. If you need scheduled or scripted exports, the standalone Markdown Exporter for Confluence has a REST API; see Confluence to Markdown for docs-as-code.
Getting Started
Install Markdown Importer for Confluence from the Atlassian Marketplace. It's free to try.
The full steps and options are in the export documentation.
Questions? Reach out via our support portal.